Feels Like Alpaca!
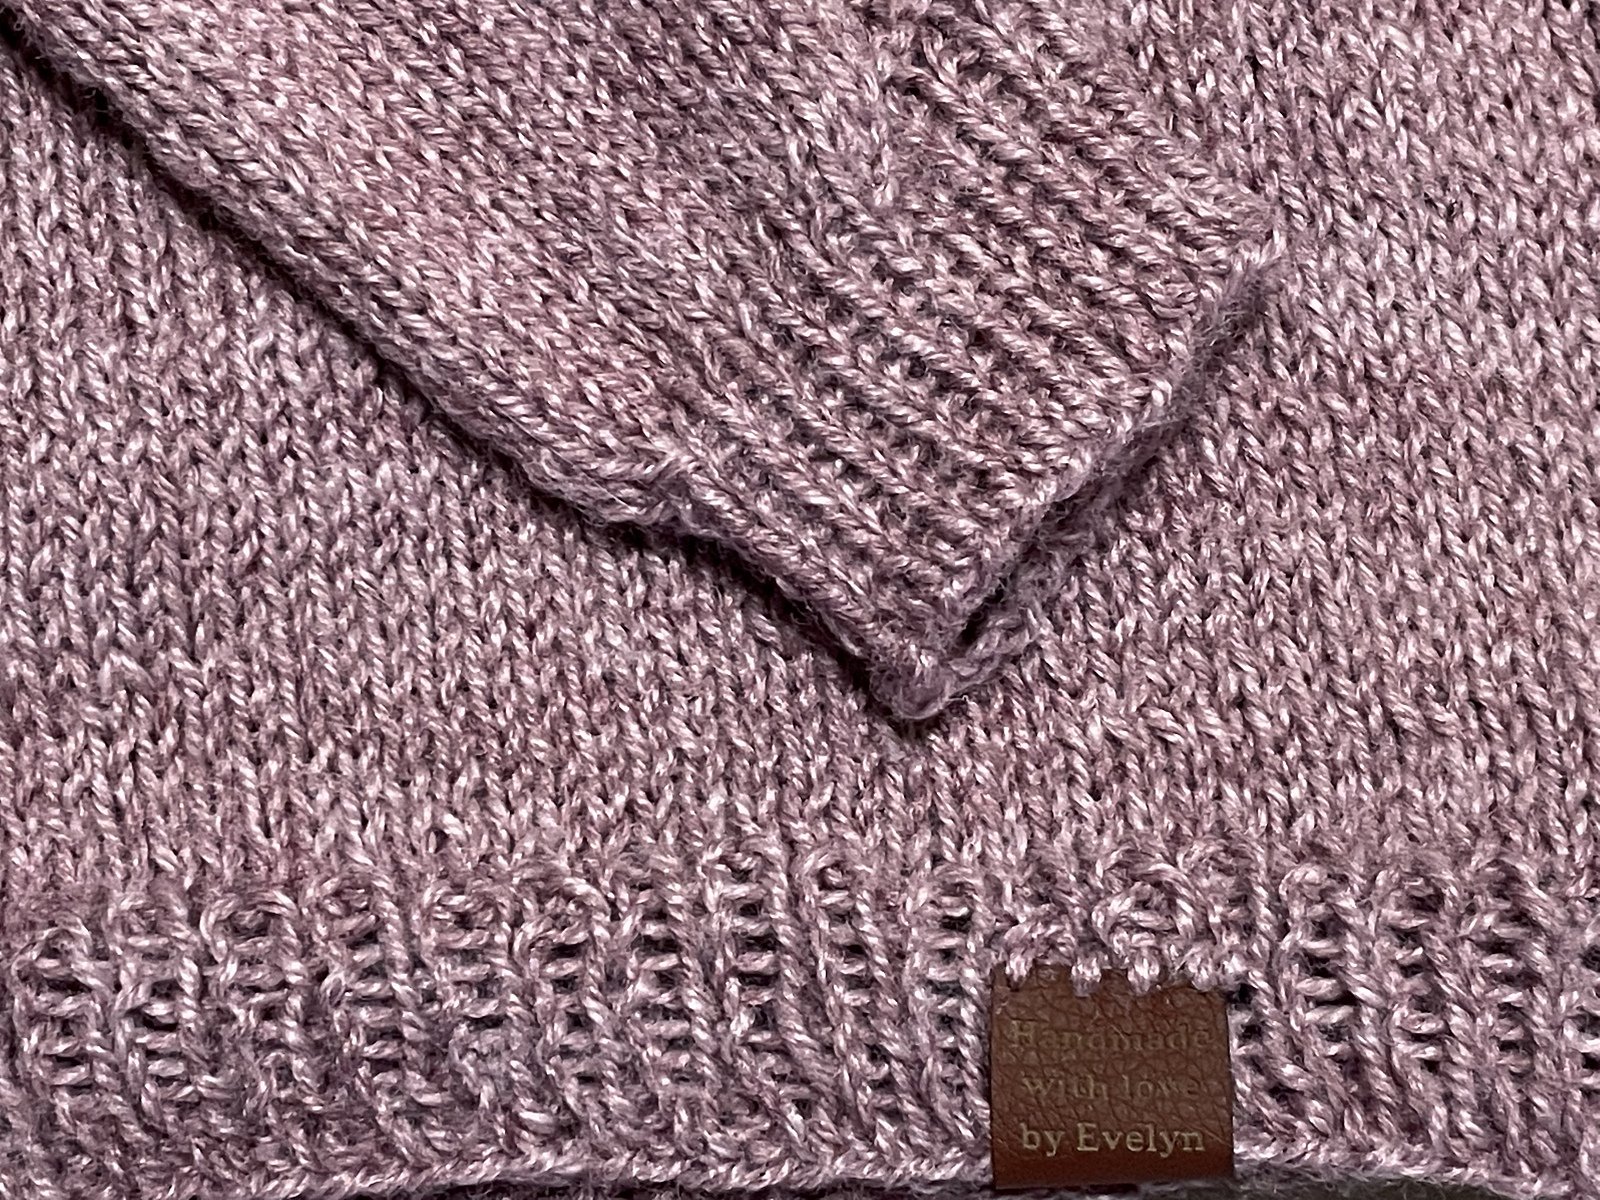
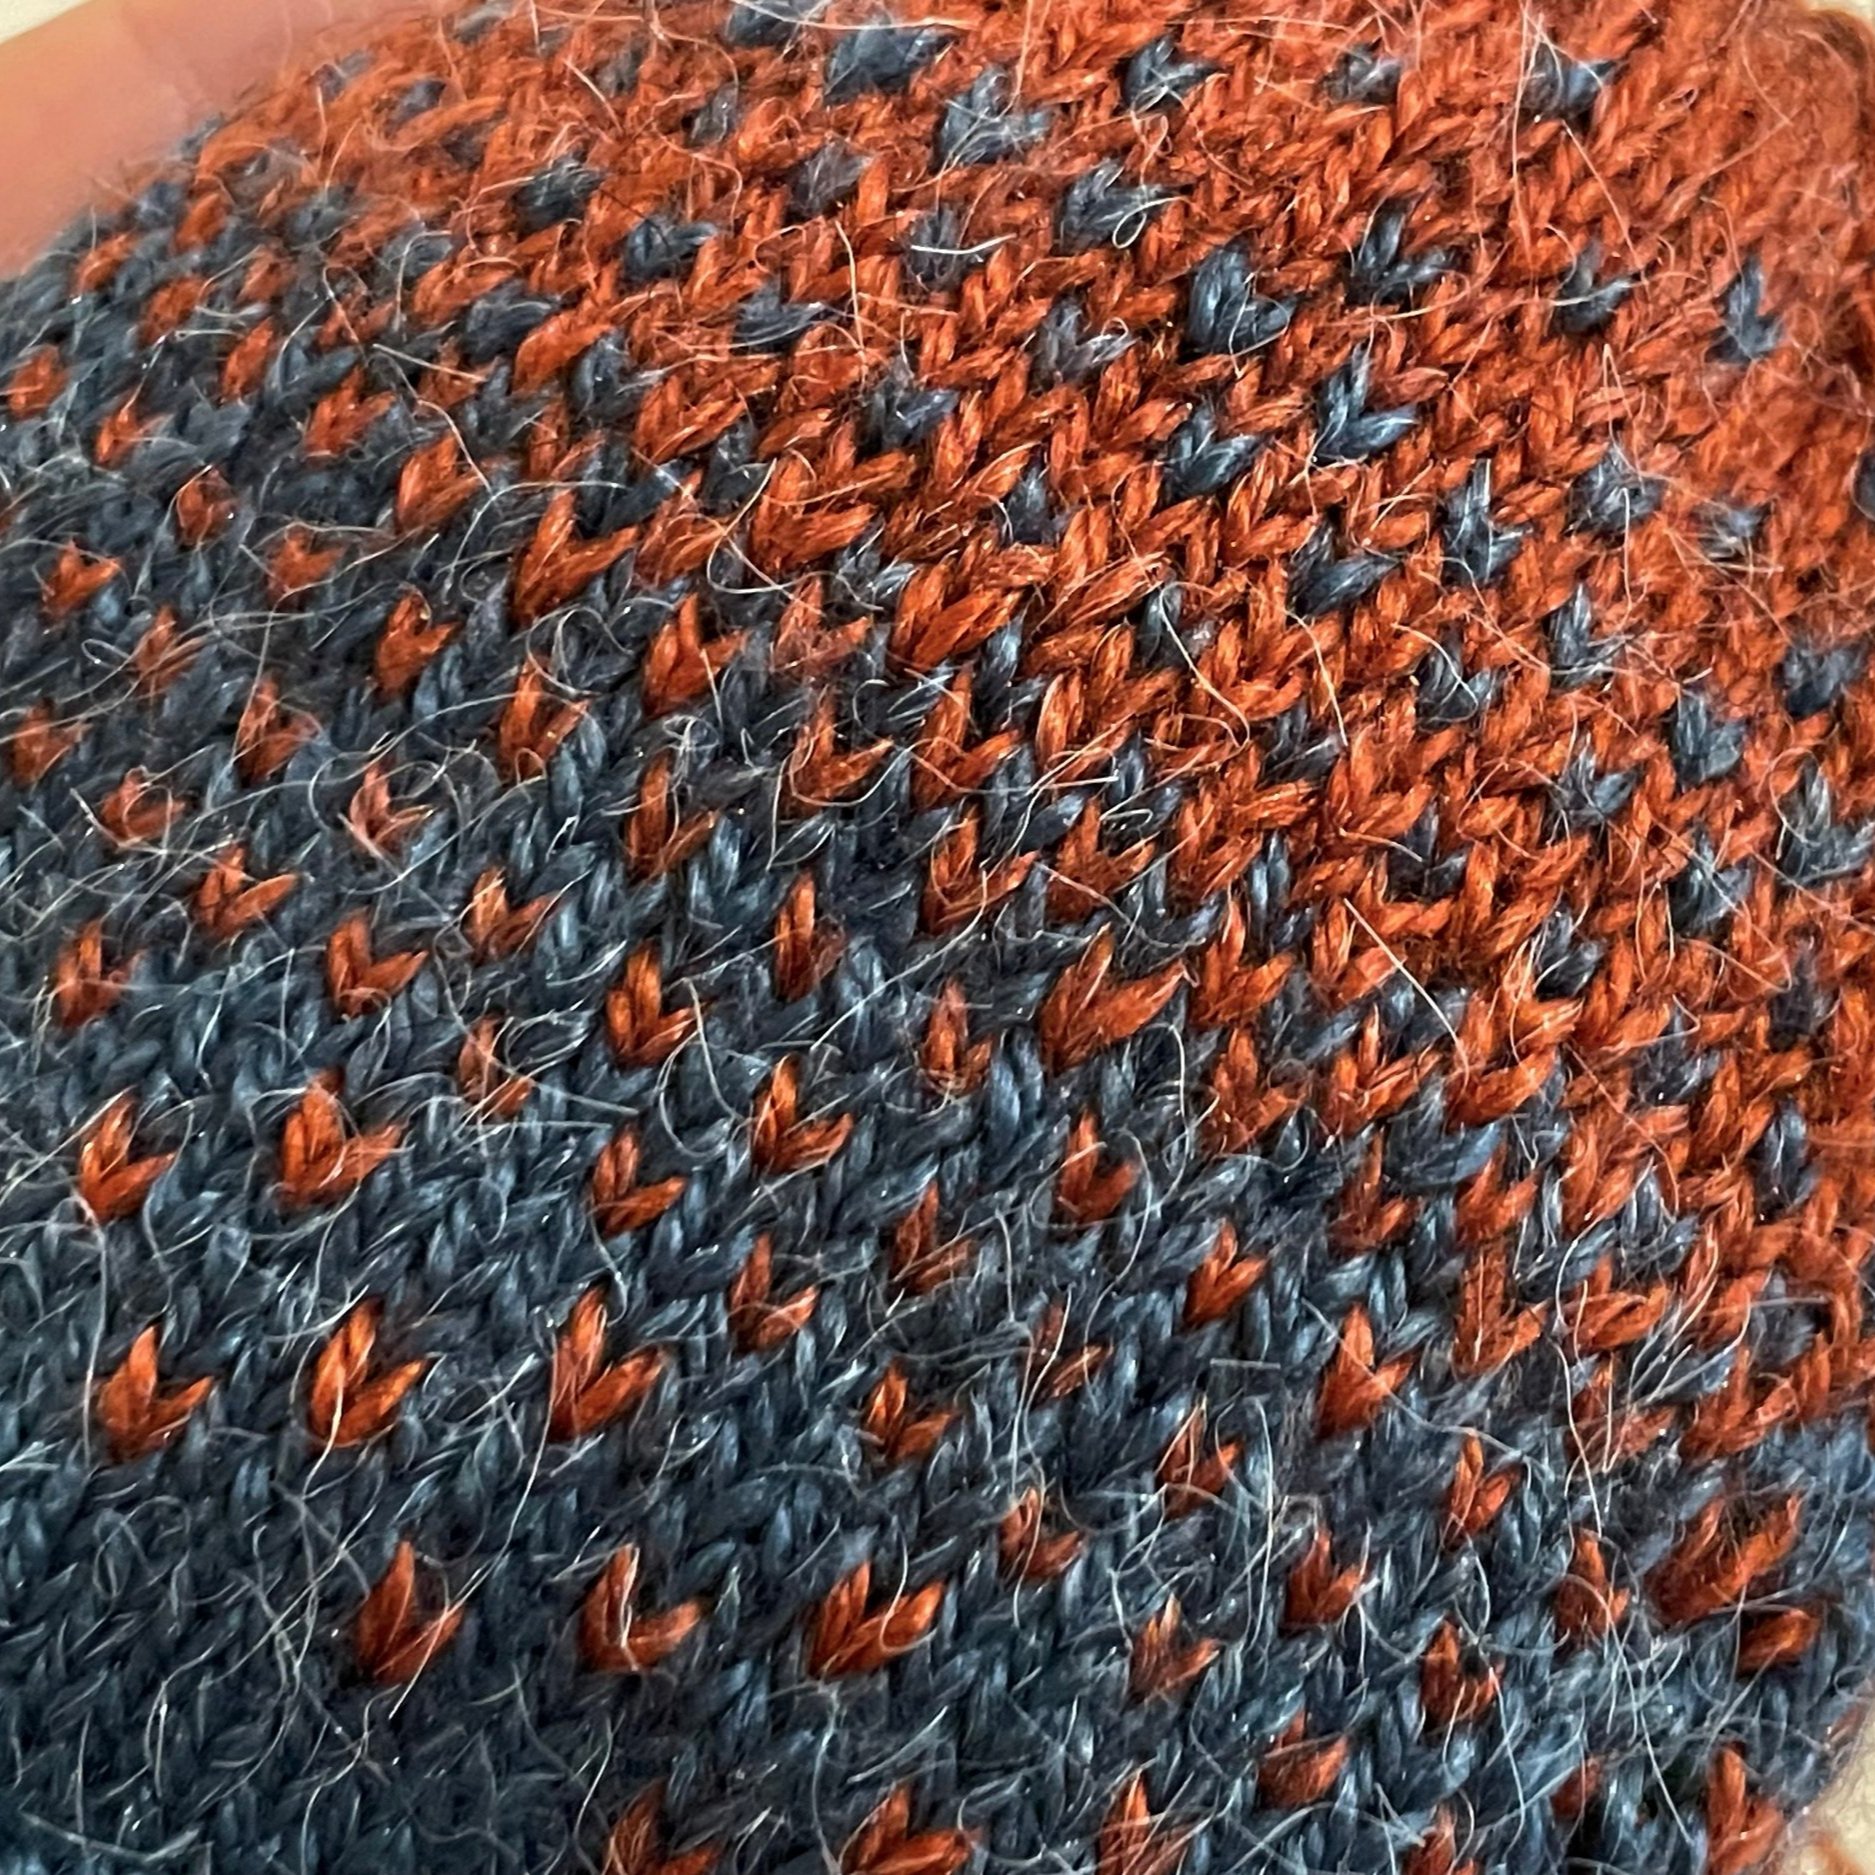
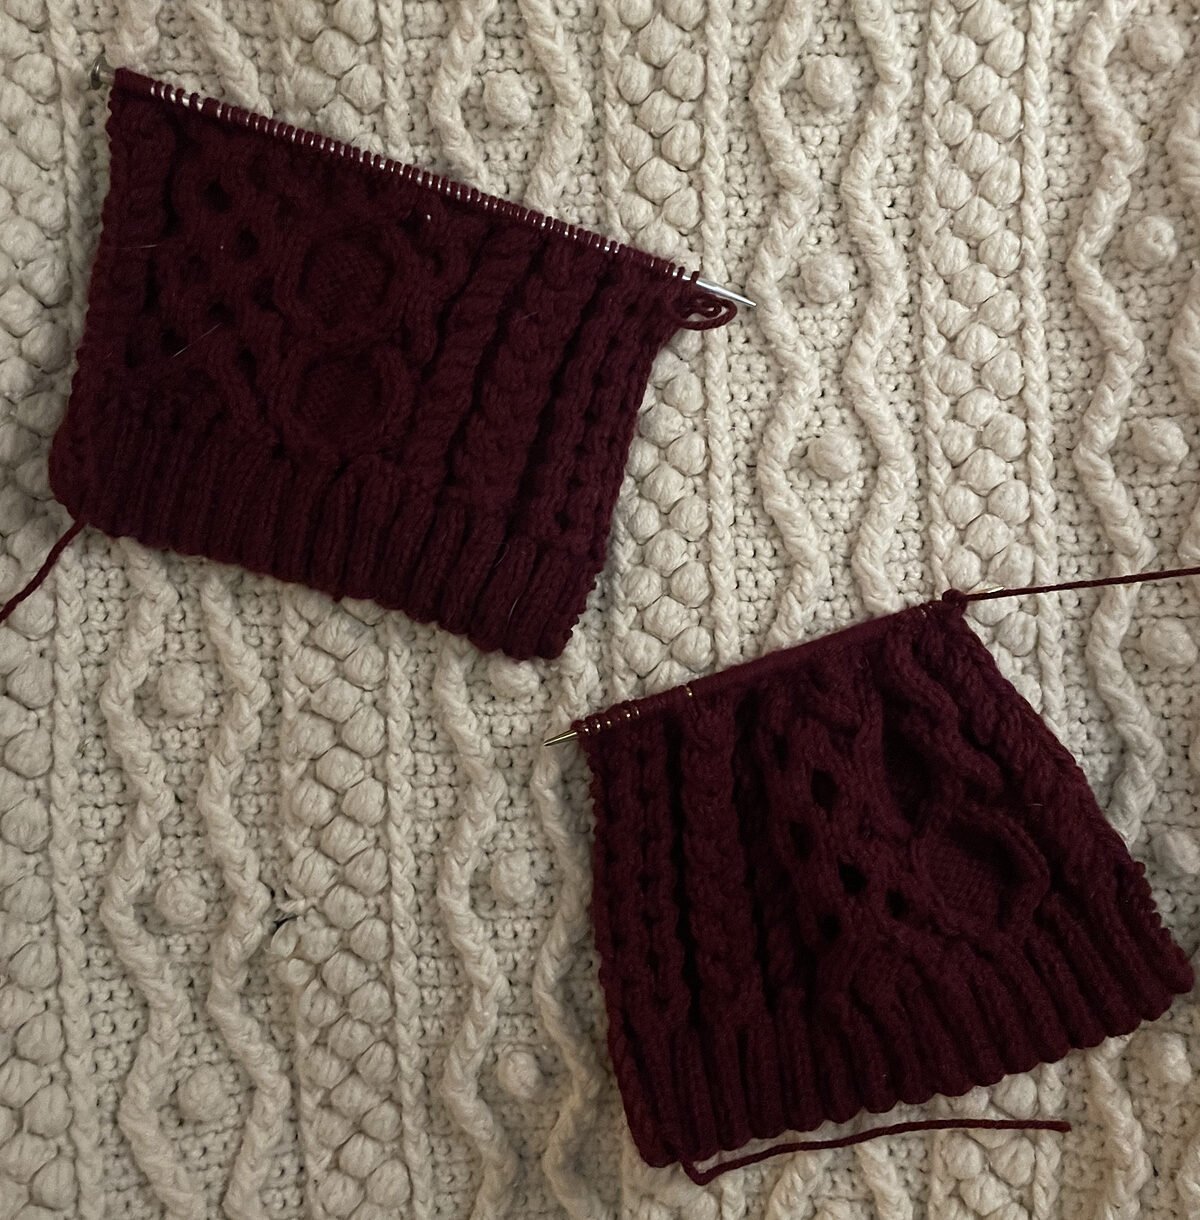
While I was in New Zealand, my girlfriend picked out some yarn so that I could make her parents some hats for Christmas. Something about making winter gear for a summer holiday seemed odd to me but I wasn’t about to pass up a chance to do some knitting! She picked out Lion Brand’s new Feels Like Alpaca in Denim and Rust.
This yarn is new to me, and I also believe new to Lion Brand. I don’t usually go for Lion Brand yarns, although I can be caught admiring the pretty colors in their Mandala line from time to time. The last time I bought Lion Brand, it was their 100% recycled polyester Re-Spun yarn in Blush. That yarn was super pretty - it had a nice drape, good stitch definition, and appears to have held up pretty well in the (machine) wash over time.
The Lion Brand Feels Like Alpaca yarn is another hit! It feels surprisingly close to alpaca! I think it definitely looks like alpaca, and feels very soft. I’m not sure if it’s just because I touch so much yarn, but it does feel synthetic to me. Without the label, I’d assume it was some kind of alpaca blend. With the label, I know that it is 87% acrylic, 7% polyester, and 6% nylon. It’s also machine washable, which is a big plus in my book!
I found this yarn to be a bit slipperier than most synthetic yarns I use, although I found it would catch on the lettering of my DPNs. I used Crystal Palace size 3 (3.25 mm) bamboo needles for the entirety of both of the hats that I made. I found that it was fairly easy to undo stitches, but was a bit prone to being split with a knitting needle while working with it. Despite the yarn being fuzzy I still felt the stitch definition was pretty good - better than most alpaca I’ve worked with. I assume this has something to do with the synthetic nature of the fibers.
Would I buy it again? Probably! I really like the feel and look of this yarn, and I do like the Burgundy colorway a lot! The only issue I’m seeing is that the color palette isn’t super varied. Every color is gorgeous, but I would love to see a green, or a brown, or more of a true red or purple. If there was a dark slightly desaturated purple it would already be in the mail on its way to me.
Stellar Sailor Dickey
Recently I was lucky enough to be a test knitter for the Stellar Sailor Dickey pattern by Paul Haesemeyer. It's definitely one I would recommend as a good weekend project - as long as you're comfortable with charted cables, this is a pretty quick knit!
I worked mine up using my favorite yarn - Joann's Big Twist. I did deviate just a touch by adding in some store bought pompoms instead of making my own, but the color was a perfect match! How could I resist?
in progress, just before joining front and back to work in the round
One of the things that I really like about this piece is that it tucks in really smoothly. Wearing it outside a coat or jacket really shows off the cables, but wearing it tucked in does an incredible job of shielding from wind and snow. I've actually already started on a second one in brown, which is going to go to my roommate.
If you haven't already, be sure to head on over to Paul Haesemeyer's ravelry page to check out his patterns!
Homeward Bound Fingerless Mittens
 When I first saw this lovely brown yarn, I knew immediately that I wanted to make some sort of glove or mitten for myself from them. My aunt got the yarn from a place called Pacesetter Alpacas in Beloit, Wisconsin. It's a wonderfully soft yarn, and I actually got to meet the alpaca from which the wool was collected! I unfortunately lost the label for this yarn, but if I remember correctly, it was a blend of two different kinds of alpacas.
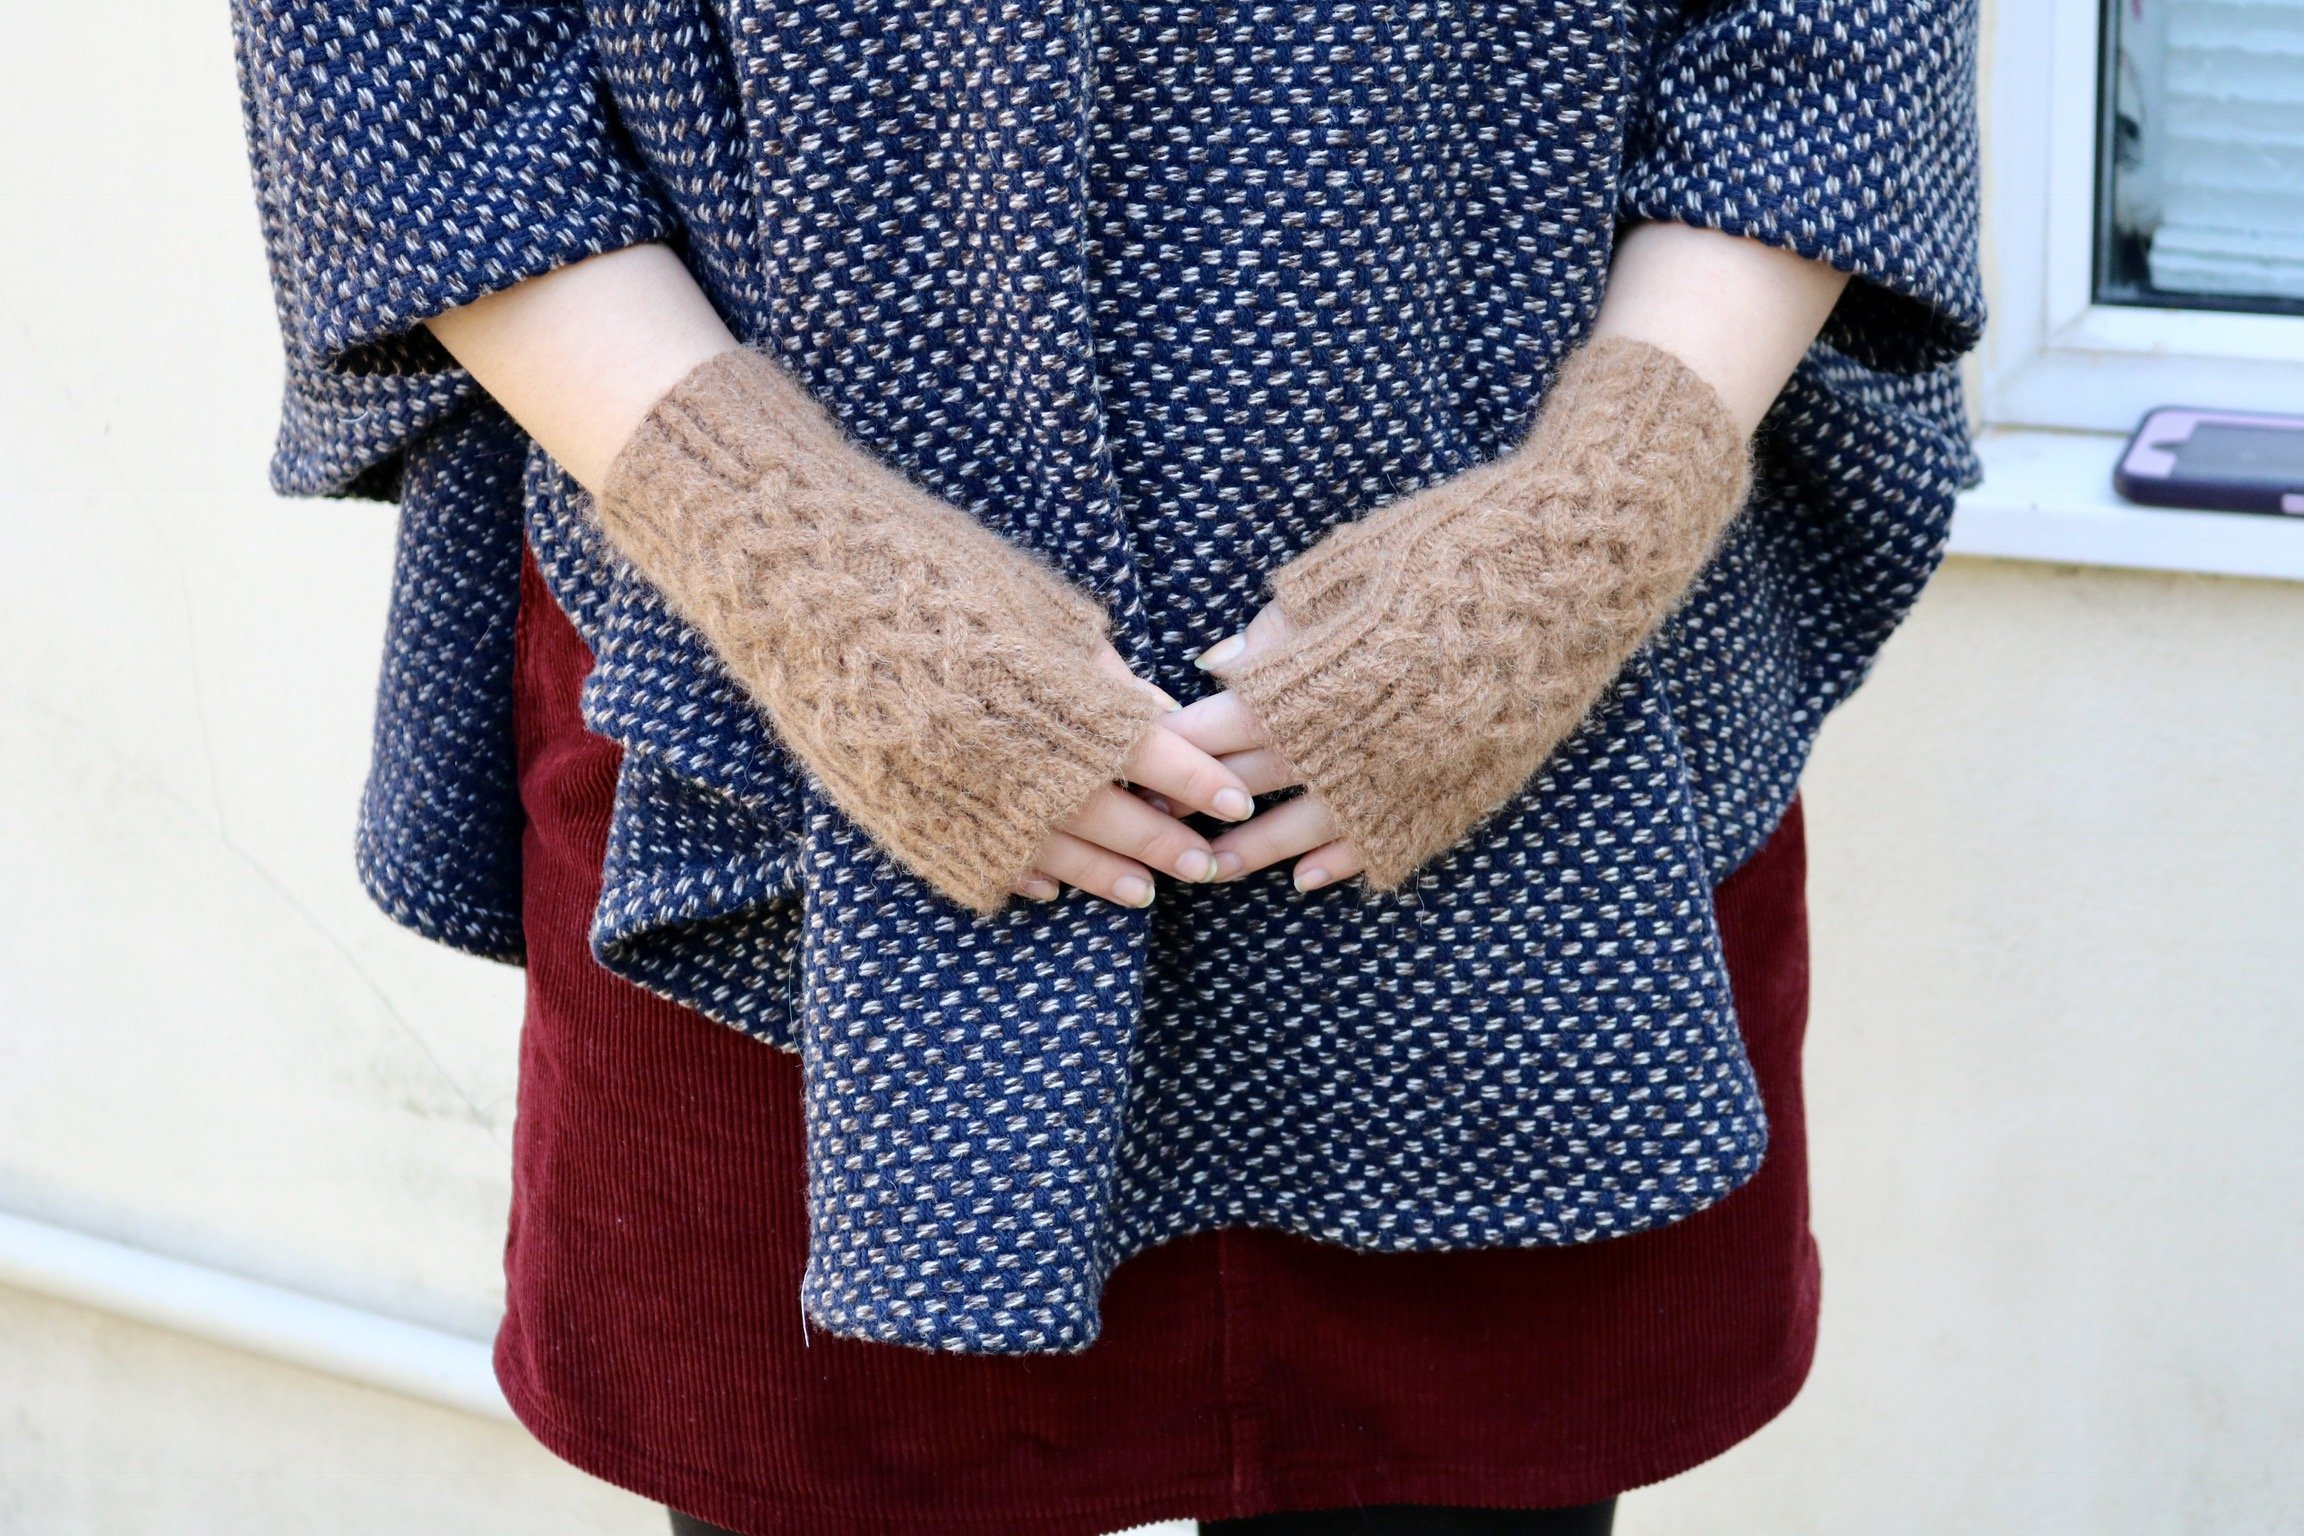 Because this yarn was so nice, I wanted to pick the perfect pattern. After much searching, I settled on the Homeward Bound Mitts. The cables on the backs of these mittens caught my eye immediately. I hadn't knit anything with particularly complicated cables before and this looked like a good way to challenge myself.
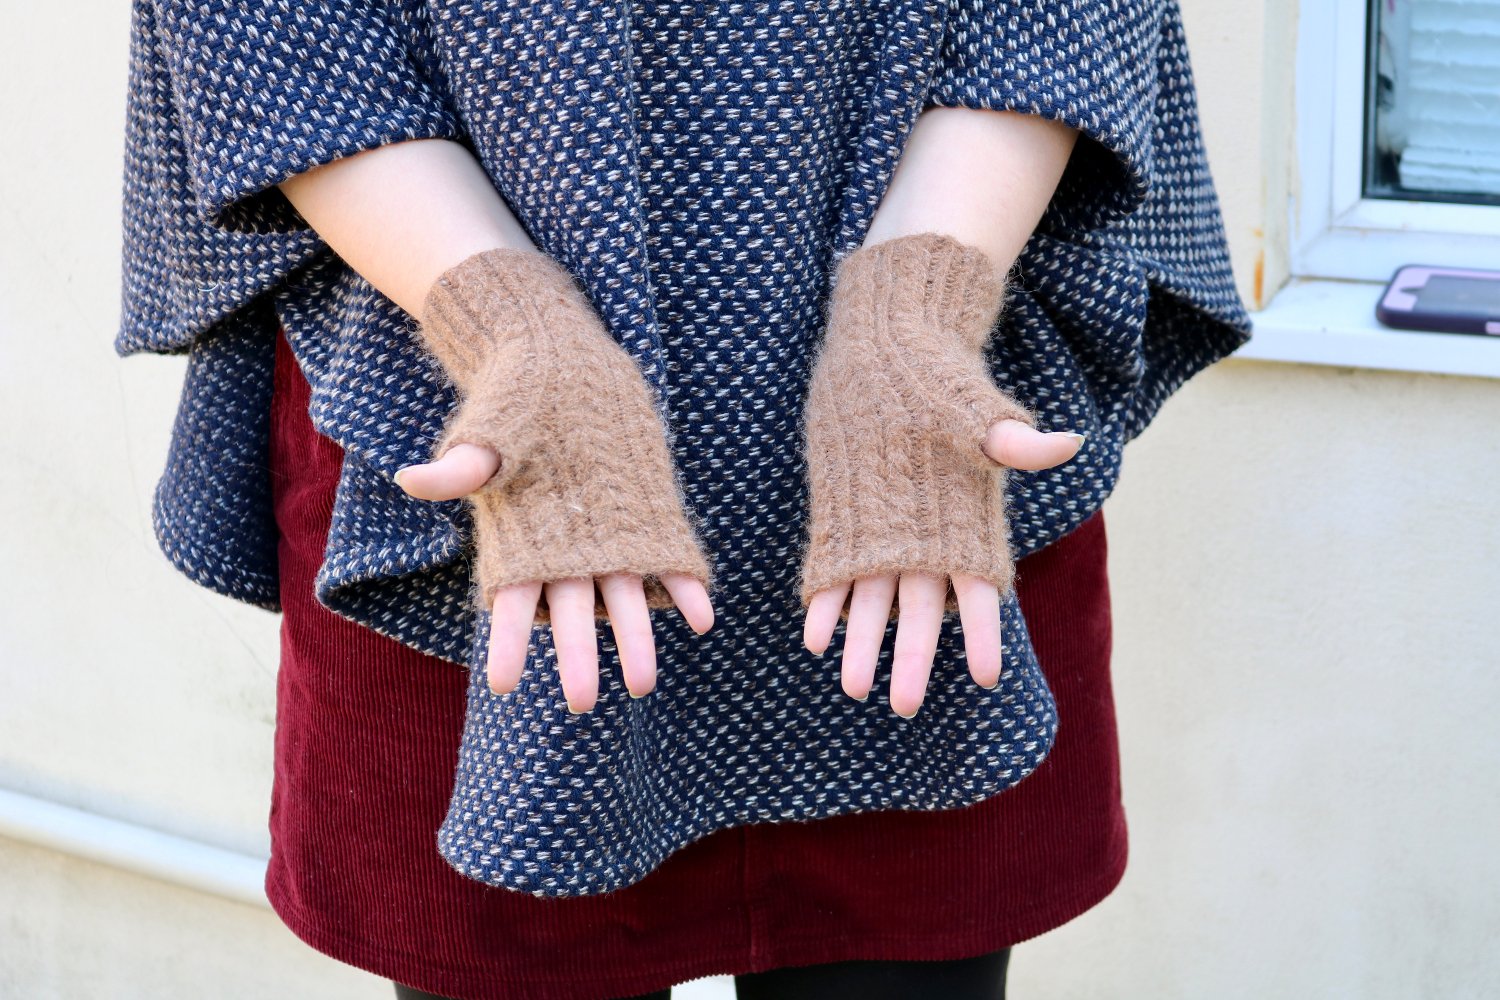 I made these mittens for myself in size 1 using 3.25 mm/US size 3/UK size 10 DPNs. Because I wasn't planning on switching needles between the wrist and hand of the glove I chose a size between the two recommended in the pattern. I was a little concerned that they wouldn't fit properly, but it turned out fine By mistake, I left off the rib on the bottom of the mittens, but I don't think it's too noticeable.
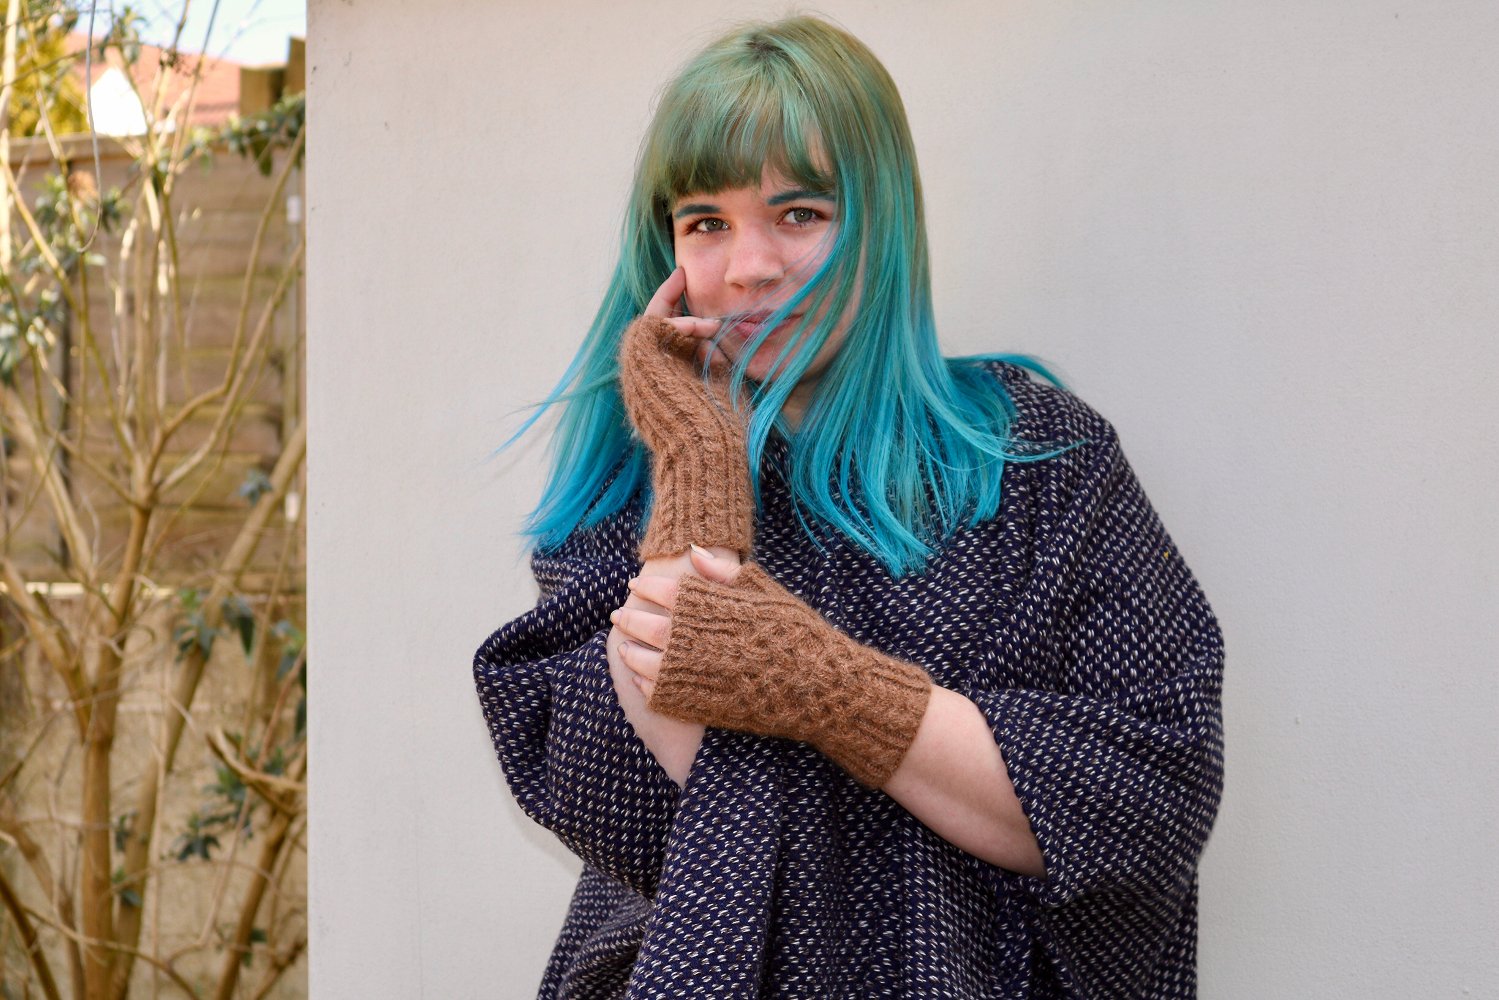
 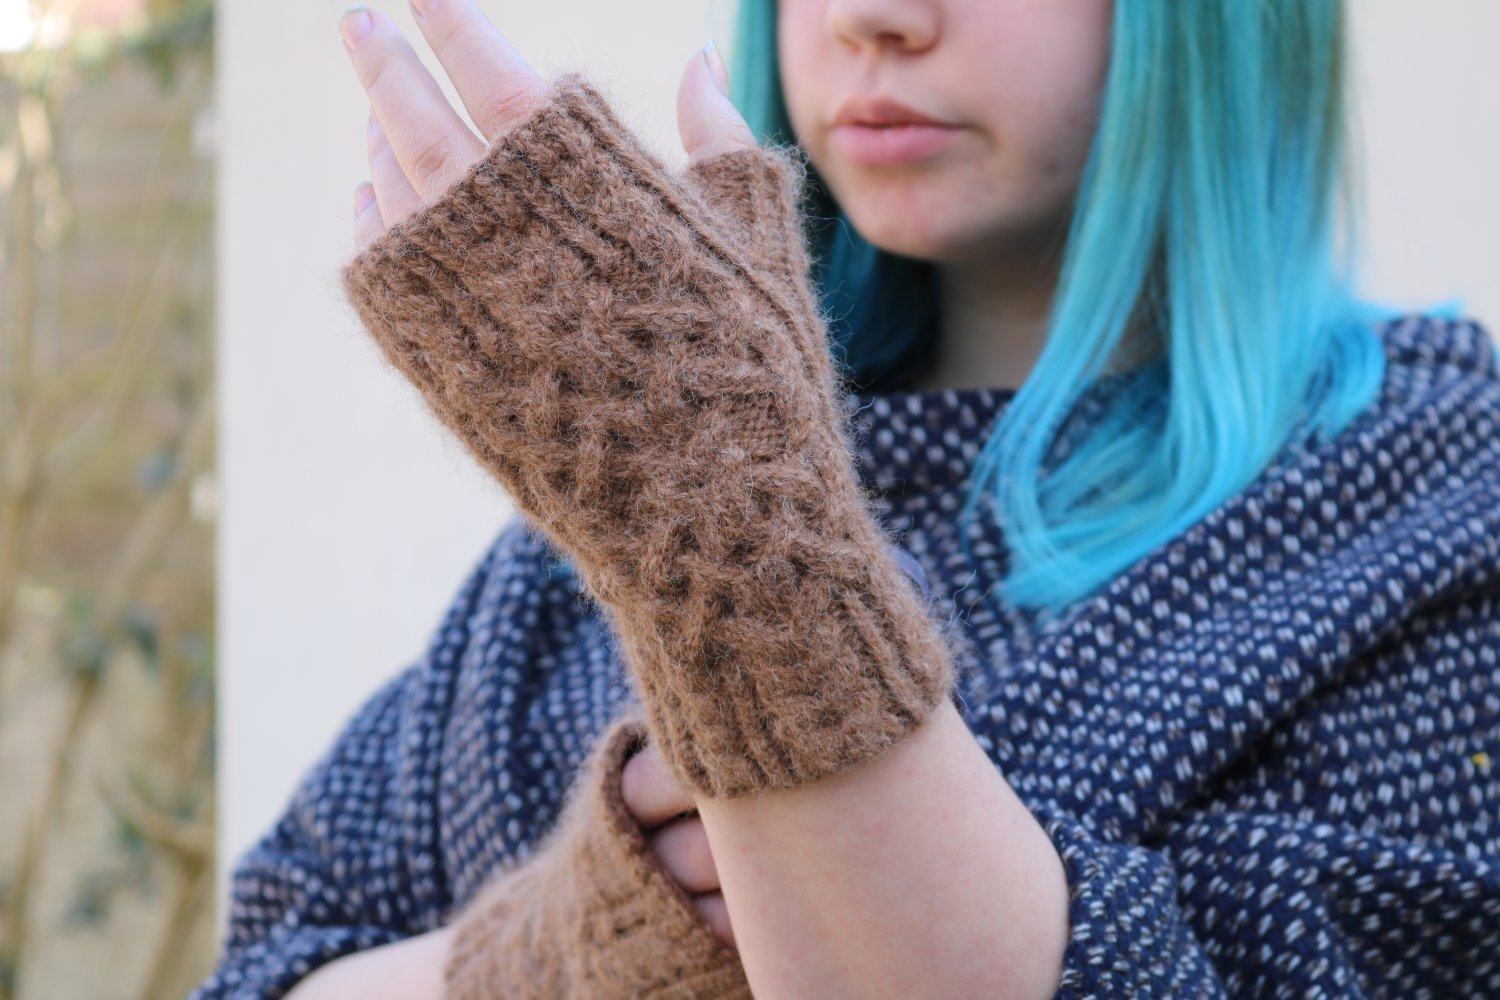 The pattern for these mittens was really well written, and included charts for all the cabling sections. I had never made a thumb before, and this pattern described how to knit one well enough that I made almost no mistakes! I love these mittens, and I'm almost tempted to make myself a pair in every color.
Nardole's Hat from The Eaters of Light
This is my version of the hat that Nardole wears in the Doctor Who episode The Eaters of Light. When this episode aired last week, I immediately knew that I needed to make his hat. It was fairly simple to make, and I'll share my process so that anyone who wants one can make one too.What you'll need:
US size 8 needles (5mm)
Double knit or worsted weight yarn
Special Stylecraft DK in Lemon Shade 1020
Special Stylecraft DK in Dark Brown Shade 1004
Special Stylecraft DK in Green 1116
Special Stylecraft DK in Camel 1420
Special Stylecraft DK in Spice 1711
Cast on 70 stitches in the round in dark brown (must be a multiple of 10)
Rows 1-13: k1, p1 all the way around
Row 14: fold the brim to the inside of the hat attach to previous row with k1, p1
From here on, the every row is purled. (The design is worked on top after completion)
1 row in lemon, 7 rows in spice,
1 row in green, 7 rows in camel,
1 row in lemon, 7 rows in dark brown,
1 row in spice, 7 rows in lemon,
1 row in camel, 7 rows in green,
1 row in dark brown, 7 rows in lemon,
1 row in spice, 7 rows in dark brown.
On the last row, pull a piece of yarn through all of the stitches. Do not gather it yet, it is easier to work in the design beforehand.
The design on top is made by weaving pieces of yarn that are the same color as the single rows. They are woven around the knit stitch below this row and brought up to the stripe above at varying heights. This is difficult for me to explain, but I hope the pictures are good enough to understand what I mean. After making the design, tighten the yarn you previously pulled through the top row of stitches and secure. Make a large pom pom out of the dark brown yarn and attach it to the top.
If anyone does make this hat, be sure to let me know!
Since it's summer, I doubt I'll be wearing the hat any time soon. As soon as cold weather hits, though, I'll be wearing it all the time!
Gunter
 You may recognize this penguin as Gunter from the animated tv show Adventure Time. I made this tiny knitted fellow using this Adventure Time Gunter Pattern.
 I made him for my friend Scott's birthday. It was my first time knitting a stuffed animal, and it was a lot easier than I thought it would be, even though I don't own double point needles and had to make him on regular needles.
 Since I worked him on normal needles, I had to sew up a lot of seams. Luckily, the seams are almost impossible to see on the finished plushy.
 I also modified the pattern slightly when I made the feet, and added one row on each toe on accident. I think it worked out fine, and made his toes more distinguishable from each other.
 Over all, the pattern was surprisingly easy to knit, and I really like the result. Thanks for reading!
Hamburger and Fries
 I started working on this sweater exactly two weeks ago, and I'm really proud of how much I've made so far, even if I'm not finished. Eventually, the sweater should be a replica of the Hamburger and Fries sweater that Mabel Pines wears in the television show Gravity Falls.
 I used the Laura Sweater pattern and also drew inspiration from this version of the sweater. (The second link is only visible to those with a Ravelry account.) I made the collar 9" instead of 12". I added six rows to the raglan part of the sweater in order to make the armholes fit my arms better.
 In the pattern, the body of the sweater is 12" long before the bottom ribbing is worked, but I made mine about 16" long.
 I'm only about halfway done with one sleeve and it's a little tight, but still wearable. If I were to make this sweater again, I would modify it so that the sleeves would start out wider. The torso of the sweater fits perfectly, except for the very bottom edge where I cast off. I used the slip slip knit method, thinking that it would be super stretchy, but it is not. I might go back and redo my cast off row if I can find a stretchier cast off.If anyone has any super stretchy cast off methods, please share them with me!
Pink Cable Knit
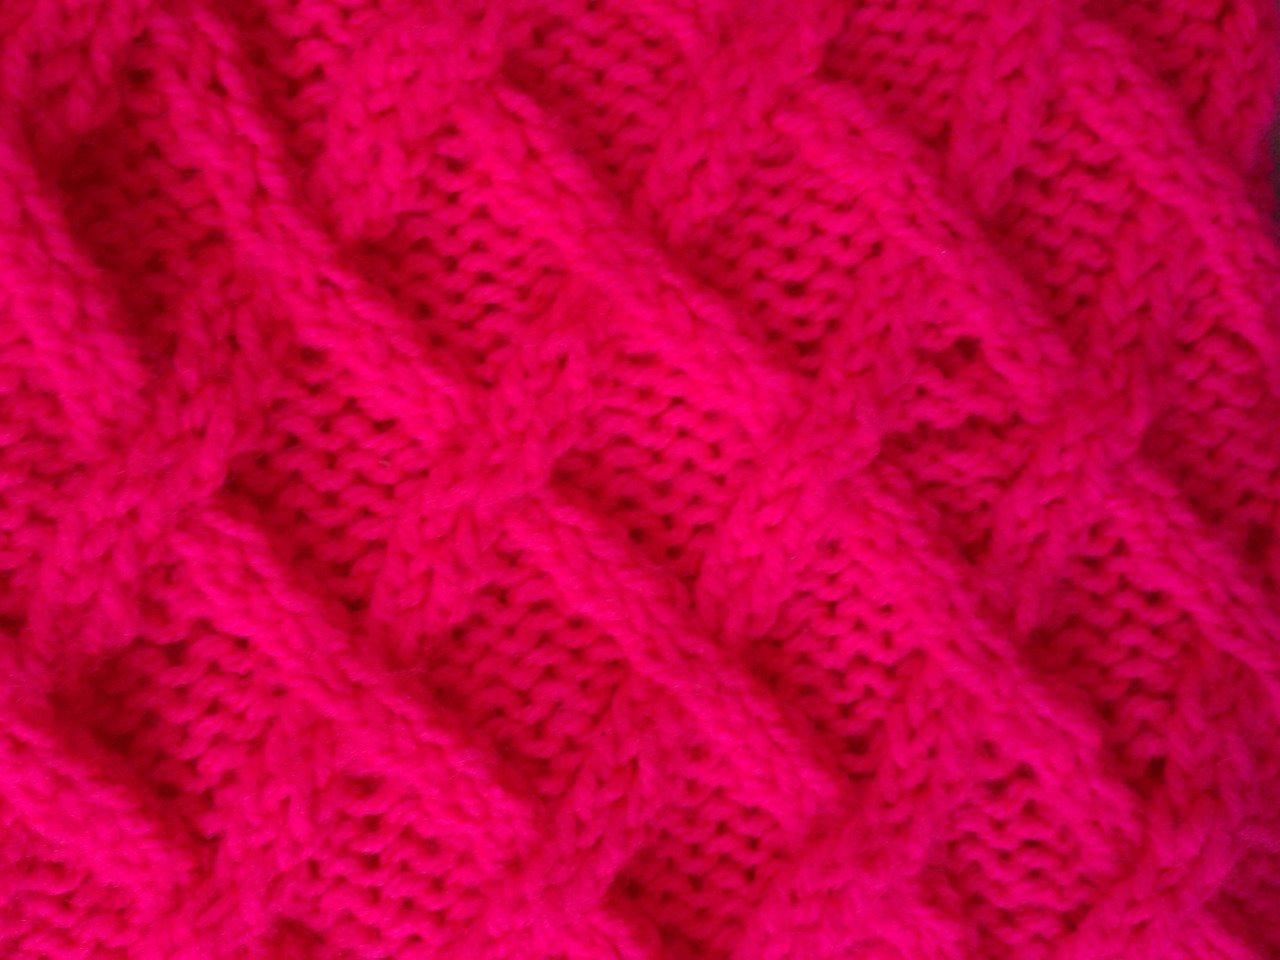
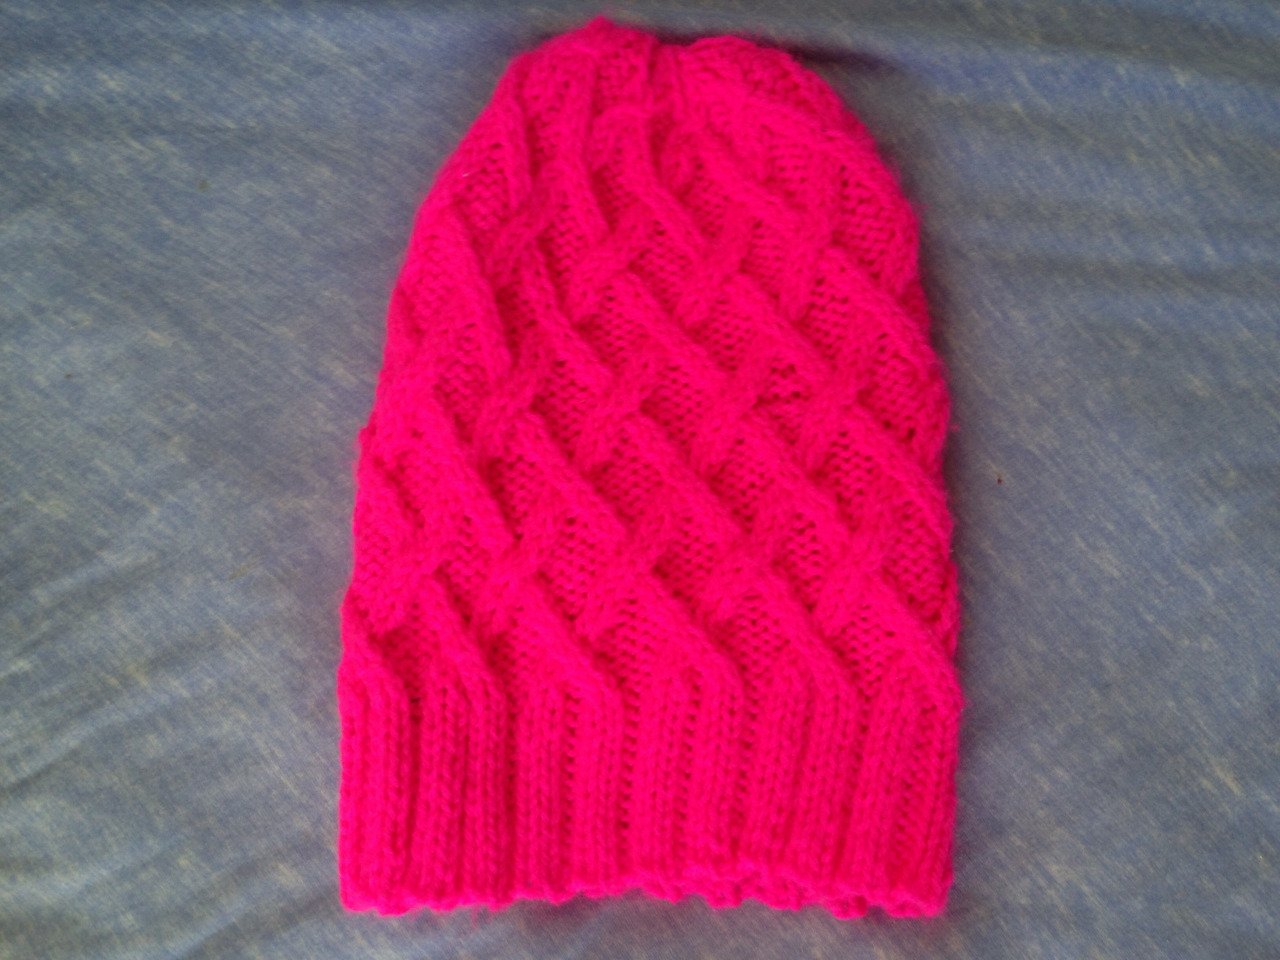 I made knit this hat from a pink yarn so bright it looks like it's glowing. It was super difficult to photograph and I apologize for the grainy photos. I made up the pattern as I went along, and although it isn't perfect, I can type up a version of the pattern if anyone wants to make this hat. Let me know if you're interested!Make sure to check out my facebook page if you haven't already!
Devil or Angle?
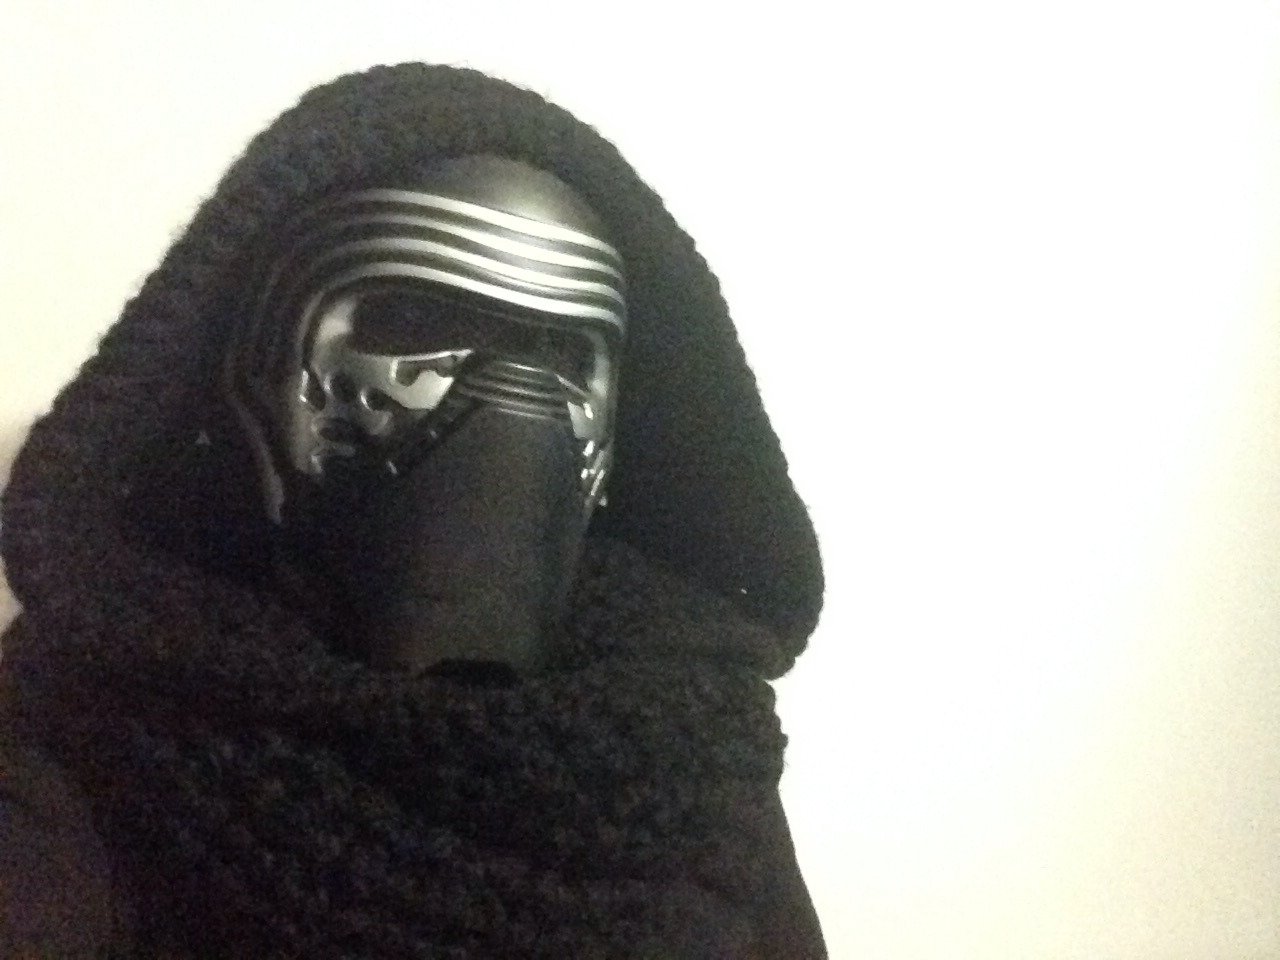 Why yes, that is a Kylo Ren mask! I made this combination hood and scarf using this scoodie pattern. From my calculations, I thought the scoodie would take about two balls of yarn to make, but it ended up taking six.
Hats for Trade
 I am very happy with the pom pom.
Christmas Presents for Relatives

Hats!
 Yes! Another Star Wars hat! This one is BB-8, a character from Star Wars: The Force Awakens. I used a BB-8 Droid Hat Pattern, and modified the circles to be smaller, and looking at the robot in order to judge where to put them.
A New School Year
Sorry, it's been quite a while since I've last posted. Since then, I have moved to England and started my first year studying costume design and construction at a university level. I've been working very hard in class, and so kept forgetting to post. (oops!)During winter break, I went to Austria with my friend Ruth and stayed with her family. While in Austria, Ruth and I visited her photographer friend, Bildersanatorium, who was kind enough to take photographs of the many pieces I have made since September.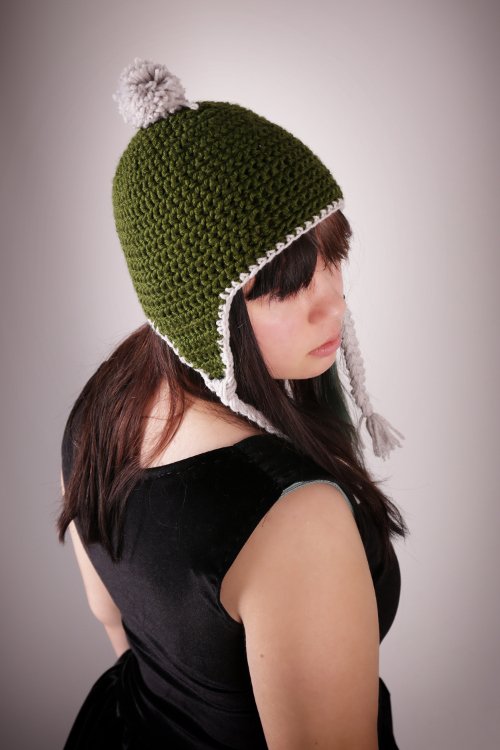 This hat was the second thing I made after moving to England. It's a very simple earflap hat made from double crochet and single crochet, with braided tassels and a pom-pom.
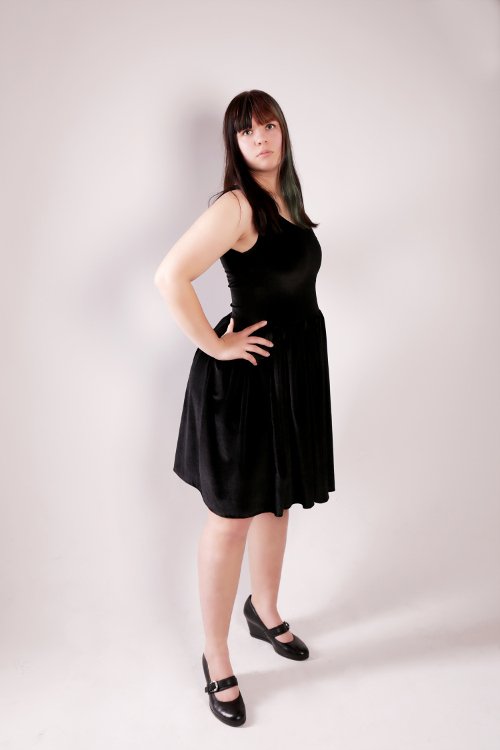
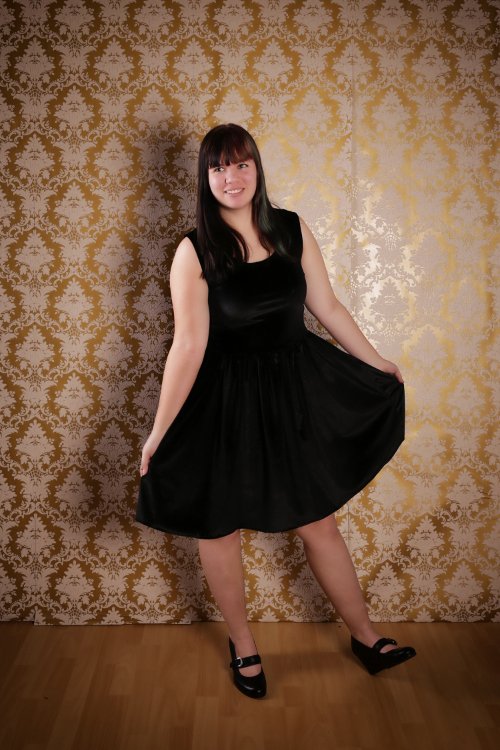 This dress is made from a very nice stretch velvet I picked up from BSP Haberdashery. I felt it, and I just had to take it home with me. I made up the dress pattern as I went along, copying one of my tank tops for the bodice, and gathering two rectangles for the skirt. The dress is so simple that I was able to hand sew the entire dress in one night.
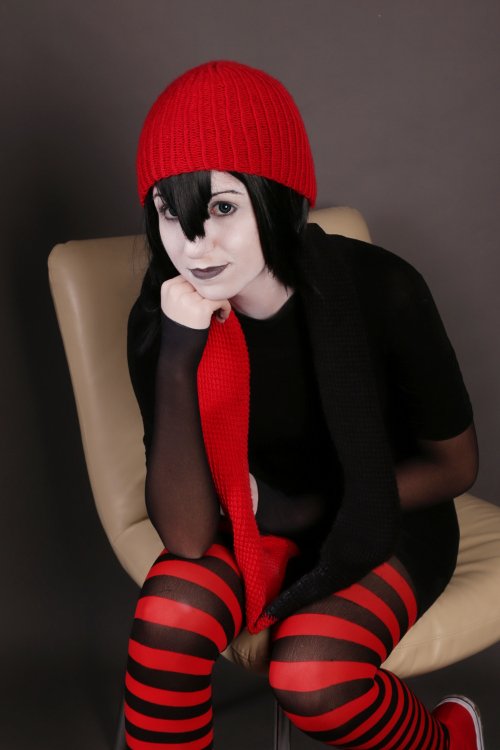
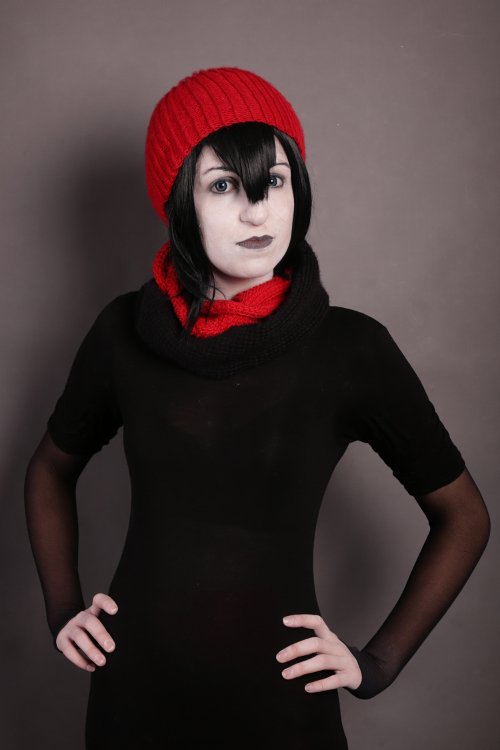 This is my friend Ruth in cosplay as Mavis from Hotel Transylvania. She is modeling a knit hat and a crocheted scarf. The hat is a super simple pattern, I just altered knit and purl stitches until it reached the length I wanted, and then decreased. The scarf is made from the basic tunisian crochet stitch, which ended up making the fabric very thick and warm, but also caused a strange drape. I started making the scarf in red, but switched to black when I ran out of red.
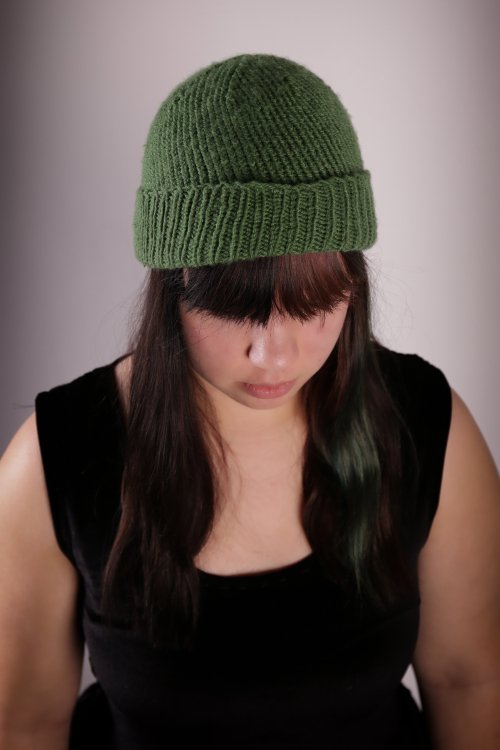
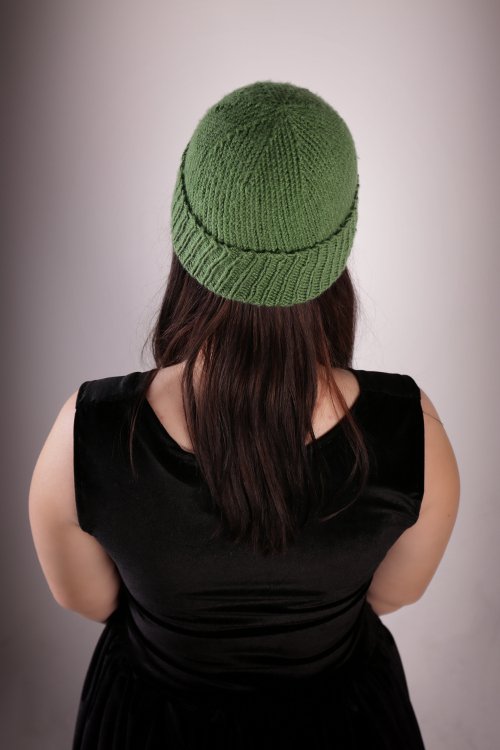 I made this hat for Ruth's dad for Christmas. It's a plain knit hat with a ribbed cuff.
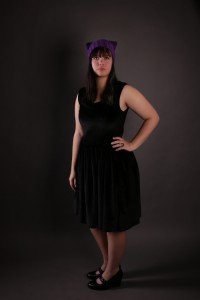
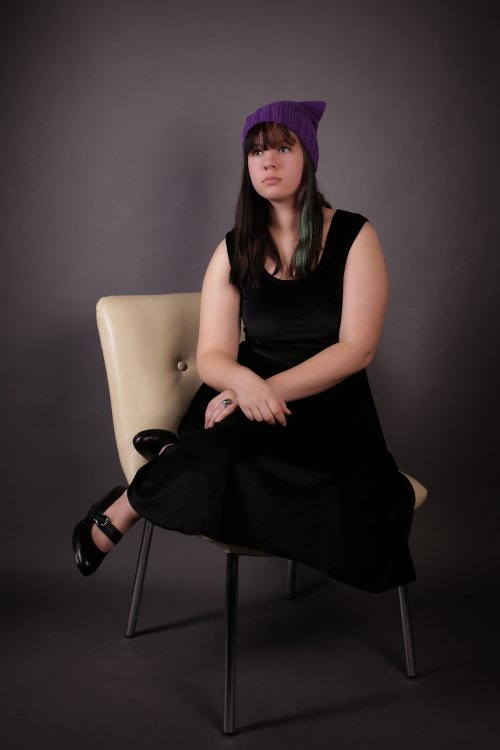 This hat is made for Ruth's mom using the Kitkat Hat Pattern. The pattern was super easy to make, and I love the result!
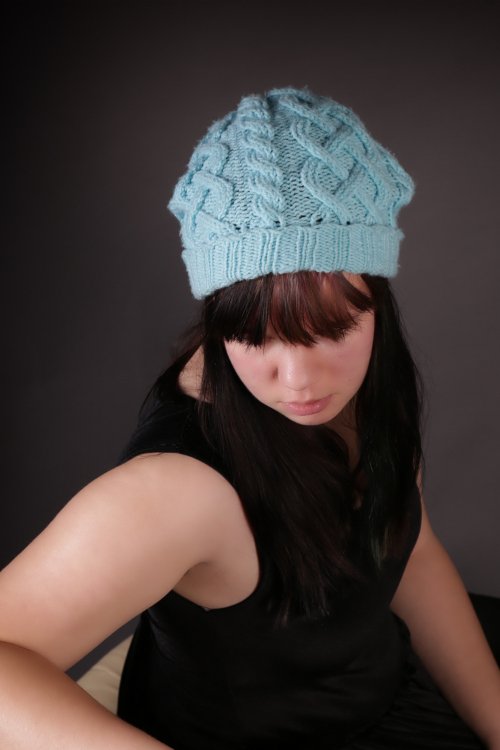
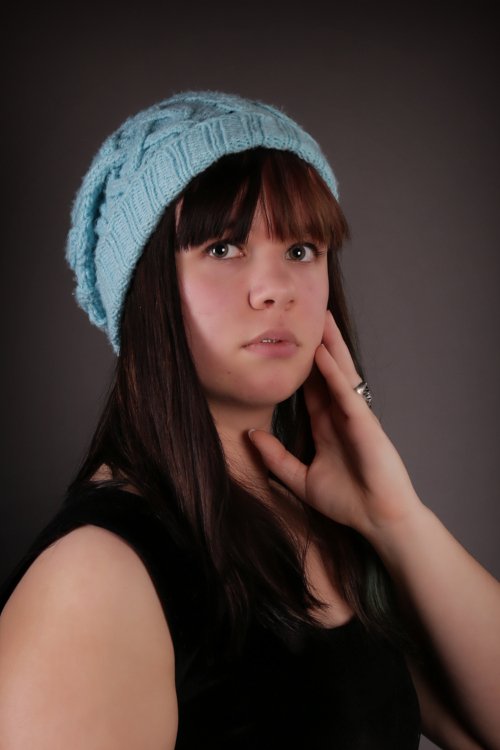 This is my favorite hat. It was my first time working with cables in a pattern and I love it so much! I used the Traveling Cable Hat Pattern and I found the instructions very easy to follow, although I did get confused while I was making the ribbing and messed up a bit. If you want to see in progress pictures of my hat, please click this link.
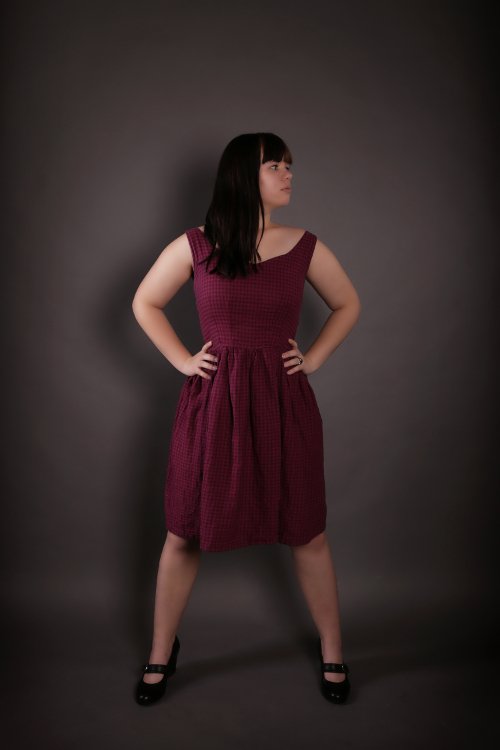
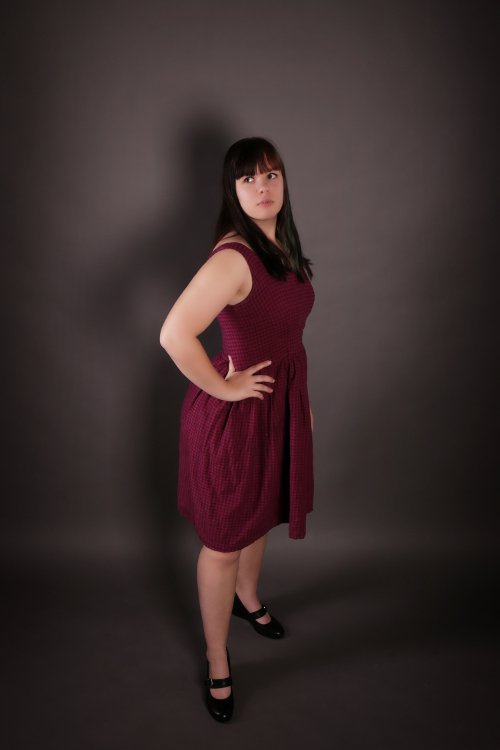 This dress is actually a project from spring of last year. It's made from the same pattern as the French Fry Dress out of a soft woven plaid fabric. I did not match the plaid because it is a very small print, and I lined the bodice with the same fabric used in the rest of the dress.I am planning on posting more often this year, and hopefully I'll stick to that promise!
The Three Year Scarf
 By my calculations, I started knitting this scarf in 2011. I'd wanted a really wide, long scarf that would keep me warm all winter, and I wanted it to be easy to make.
 When the scarf reached about four feet, I ran out of yarn, and I looped it around into a cowl. I wasn't completely happy with this and would check every yarn store for another ball of the yarn.I'm not sure where I finally found the correct yarn. I think my Grandma might have given it to me, but I'm not sure. I immediately tore out the line of stitches keeping the cowl in place, and began knitting the rest of the scarf as fast as i could. The official completion date was June 8, 2014.
 Overall, I am really happy with this scarf. It's all made with the same stitch, so it'd be really easy to make again (although it did take a long time to make).
 It turned out exactly the size I wanted it to be: about 6 feet long and 10.5 inches wide. Although there's about half an inch of difference between the widths on each end, it is my favorite scarf, and I will definitely get a lot of wear out of it as soon as it starts getting cold again.

